
The easiest way to grate ginger
I love ginger, but I hate grating it—so I don't. I use my blender. It works!


I love the flavor of ginger in baking and cooking. Enough that I put up with the tortuous chore of grating ginger, even though I utterly loathe doing it.
My favorite cake at Christmas calls for a quarter cup of grated ginger, and I book myself about an hour to grate the damned stuff.
I've got a microplane grater, which is better than the other ginger graters I've tried over the years. I've got a protective glove to wear, to protect myself from the inevitable slips into the ragged metal as I tire from the incessant back-and-forth. And while I know I can freeze the leftover ginger, I never get around to it. Instead I live with wrinkly old ginger that makes me feel sad and guilty every time I look at it. A root of rue.
But no more!
No more am I plagued by the ills of grating ginger! All of that changed about a half year ago, thanks to my friend Helen—ah, my dear, saintly friend Helen—who changed my life when she said,
"I use the blender."
No more microplane grater, I use the blender now! It works! Brilliantly! It's fast, it's easy, I do a big batch all at once, freeze it, and I'm set with ginger for months. The quality seems exactly the same to me. The key is to slice it up first, so you don't have any long fibers gumming up the works.

Here's how:
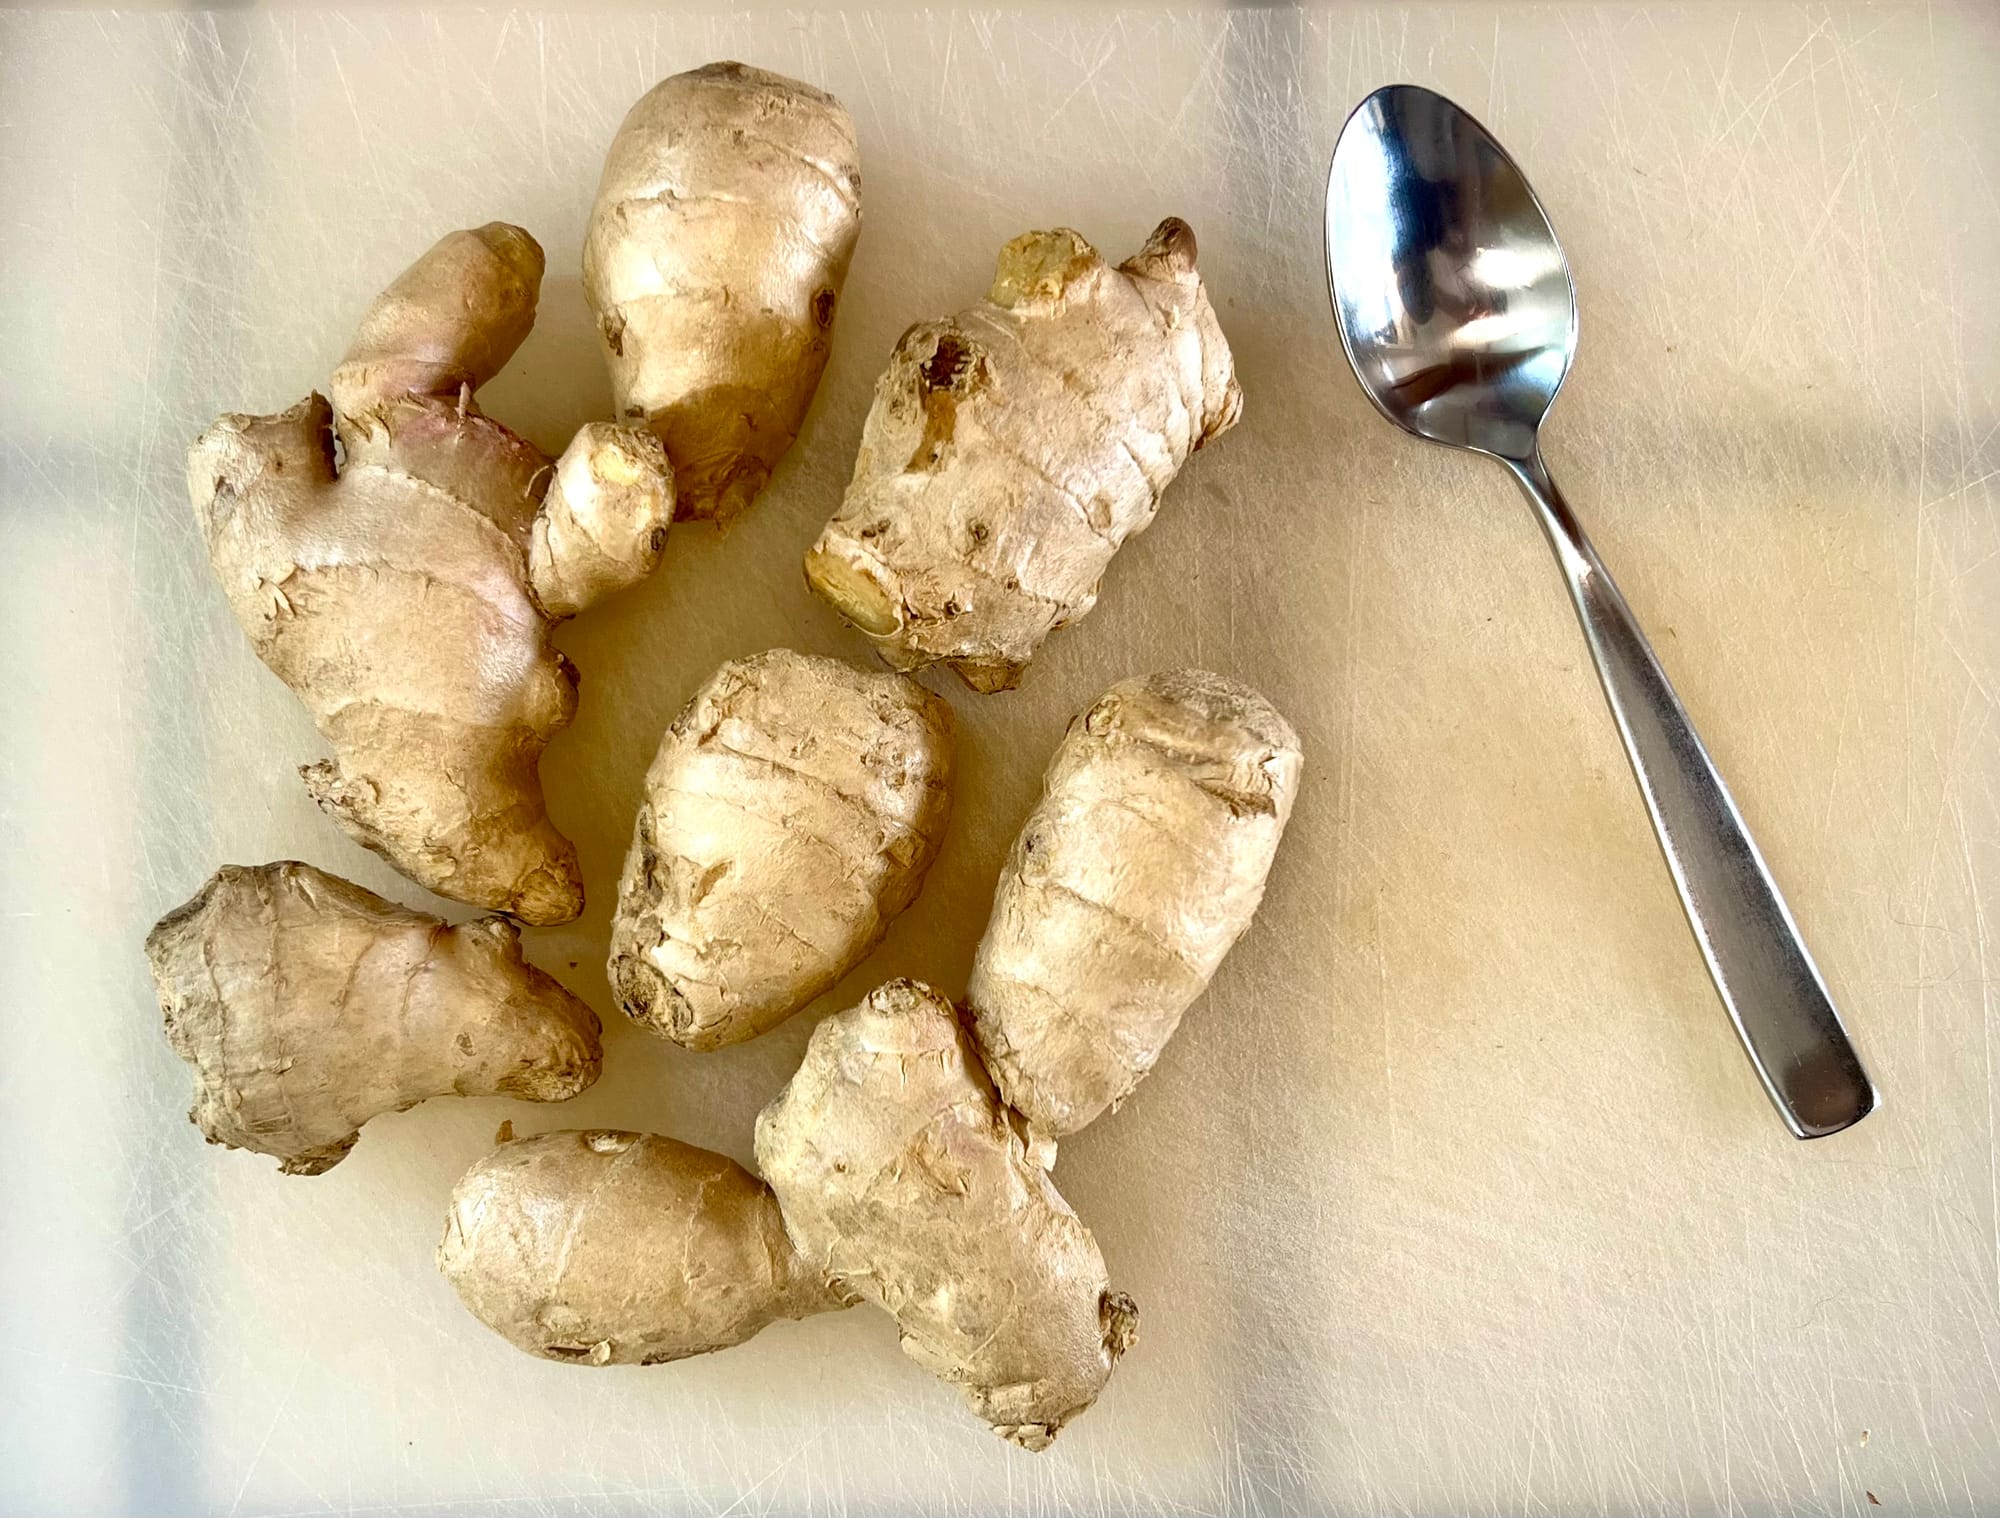
In my blender, this doesn't work unless I have enough ginger to get up over the blender blades. Two good-sized roots do the trick. The first time I did this I only had one smallish root, and after it not quite working in the big blender I moved it to a little mini-blender setup on my stick blender and got it done, but I don't advise that route.

Break the branches off of the ginger, so you'll have an easier time getting the skin off.
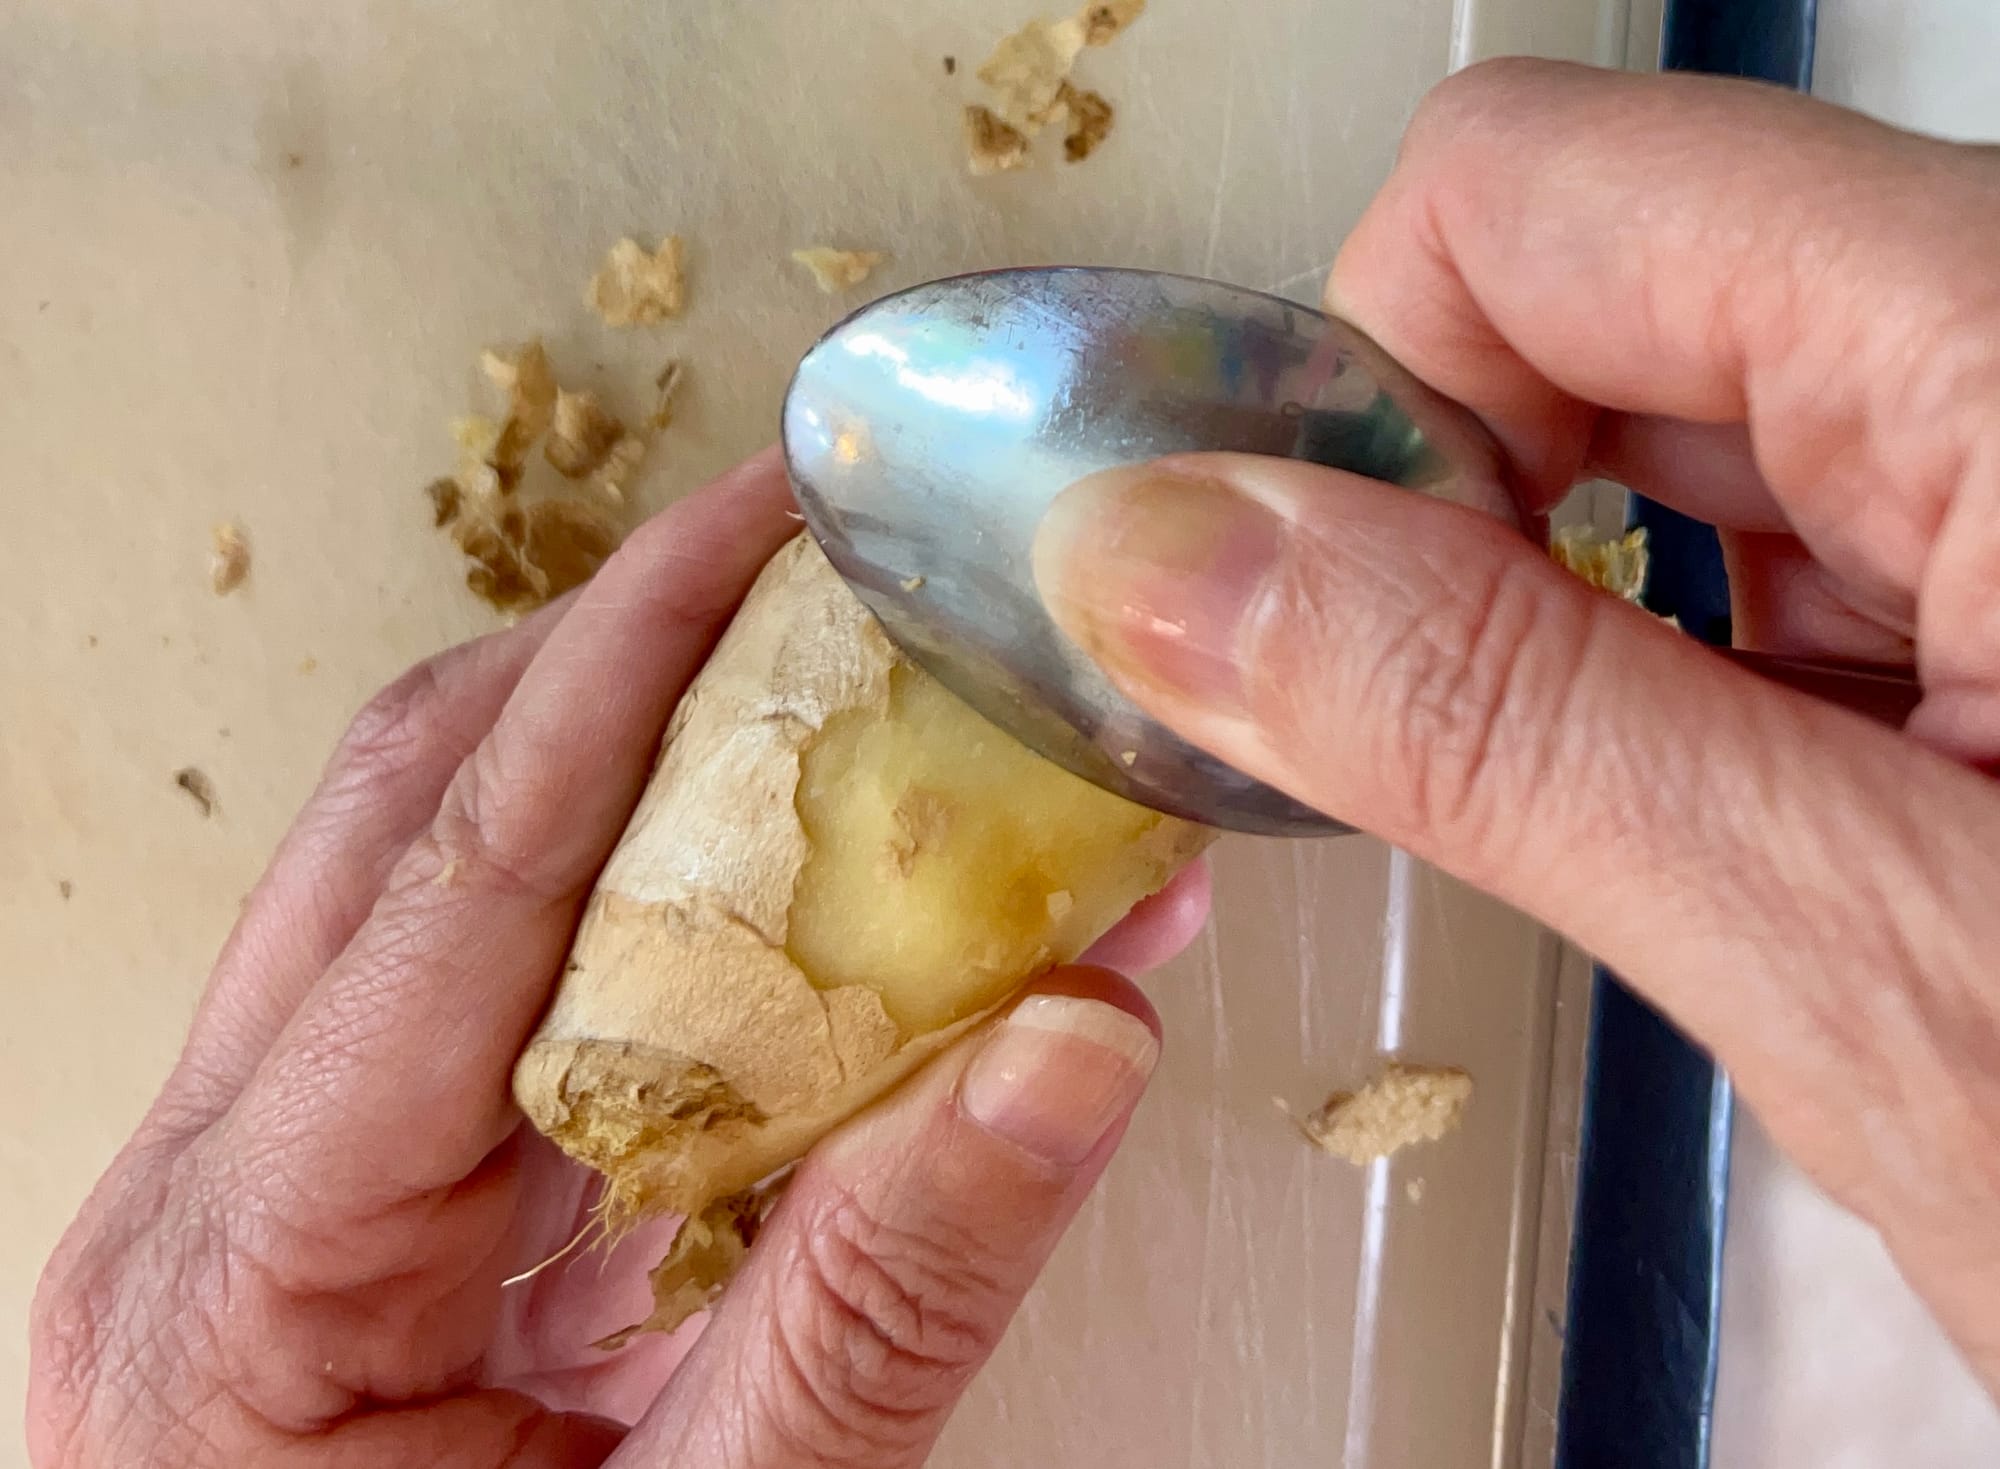
Remove the skin from the root pieces—this part's optional1. I use a standard small spoon to scrape along the edge of the skin, and it comes right off. Don't use a vegetable peeler, it's overkill and you'll take off too much ginger. Don't worry about getting every little bit off, getting most of it off is enough.
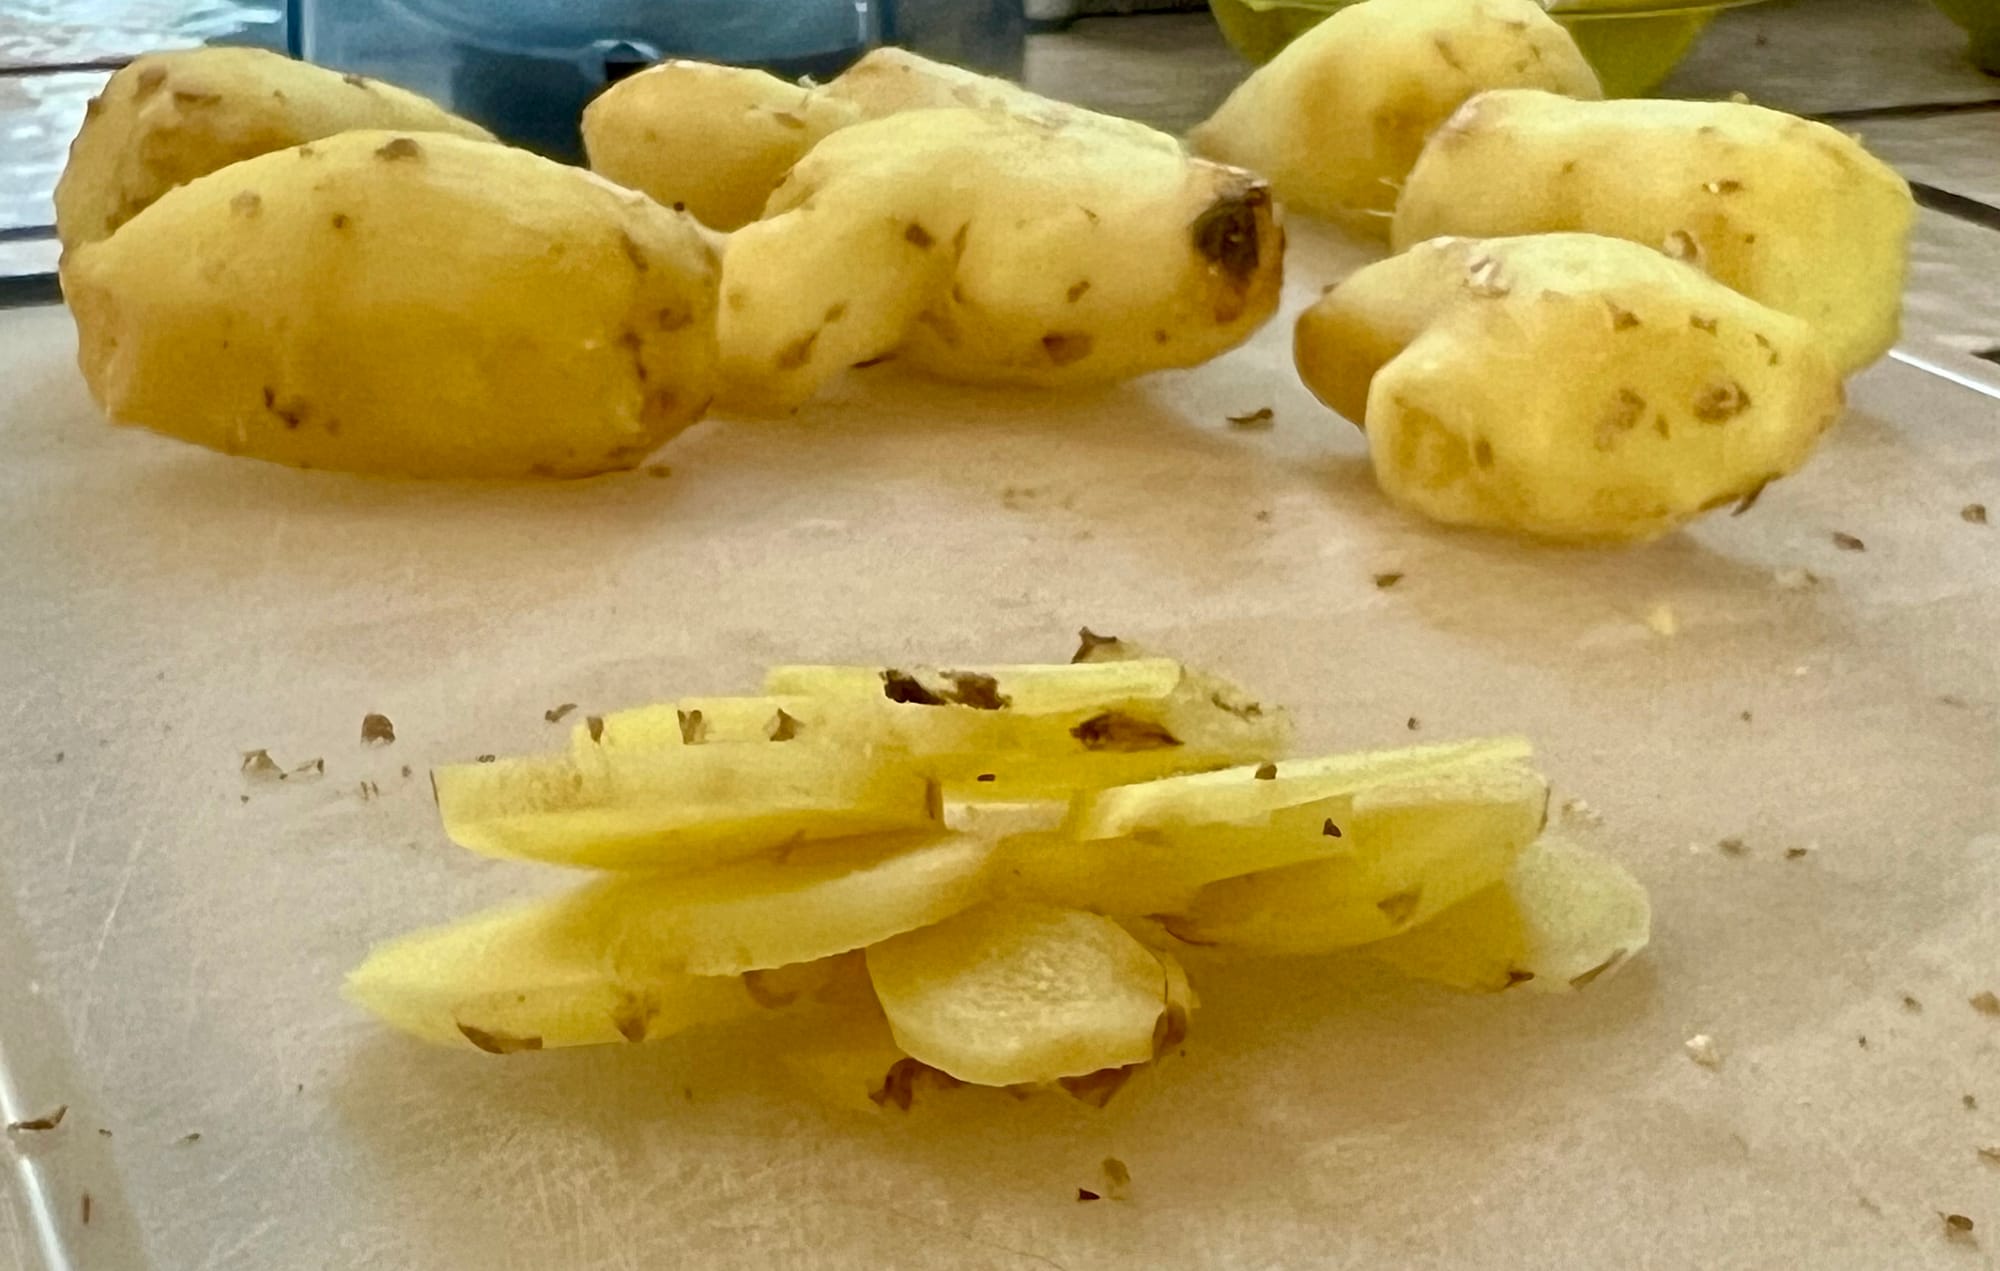
Slice against the grain into thin slices, about 2-3 millimeters. This is the most important part, because you need to break up the strong fibers that run along the length of the root. Those buggers are the reason grating ginger is zero fun, and they'll wrap around your blender blades and wind up as gross long strings in your ginger if you don't knock 'em out now.
By cutting in 2-3 millimeter slices, the fibers are now as good as gone. Just make sure you're cutting perpendicular to the long fibers, by slicing across the width of the root. Even though these are teeny slices, cutting up your roots will go very quickly.
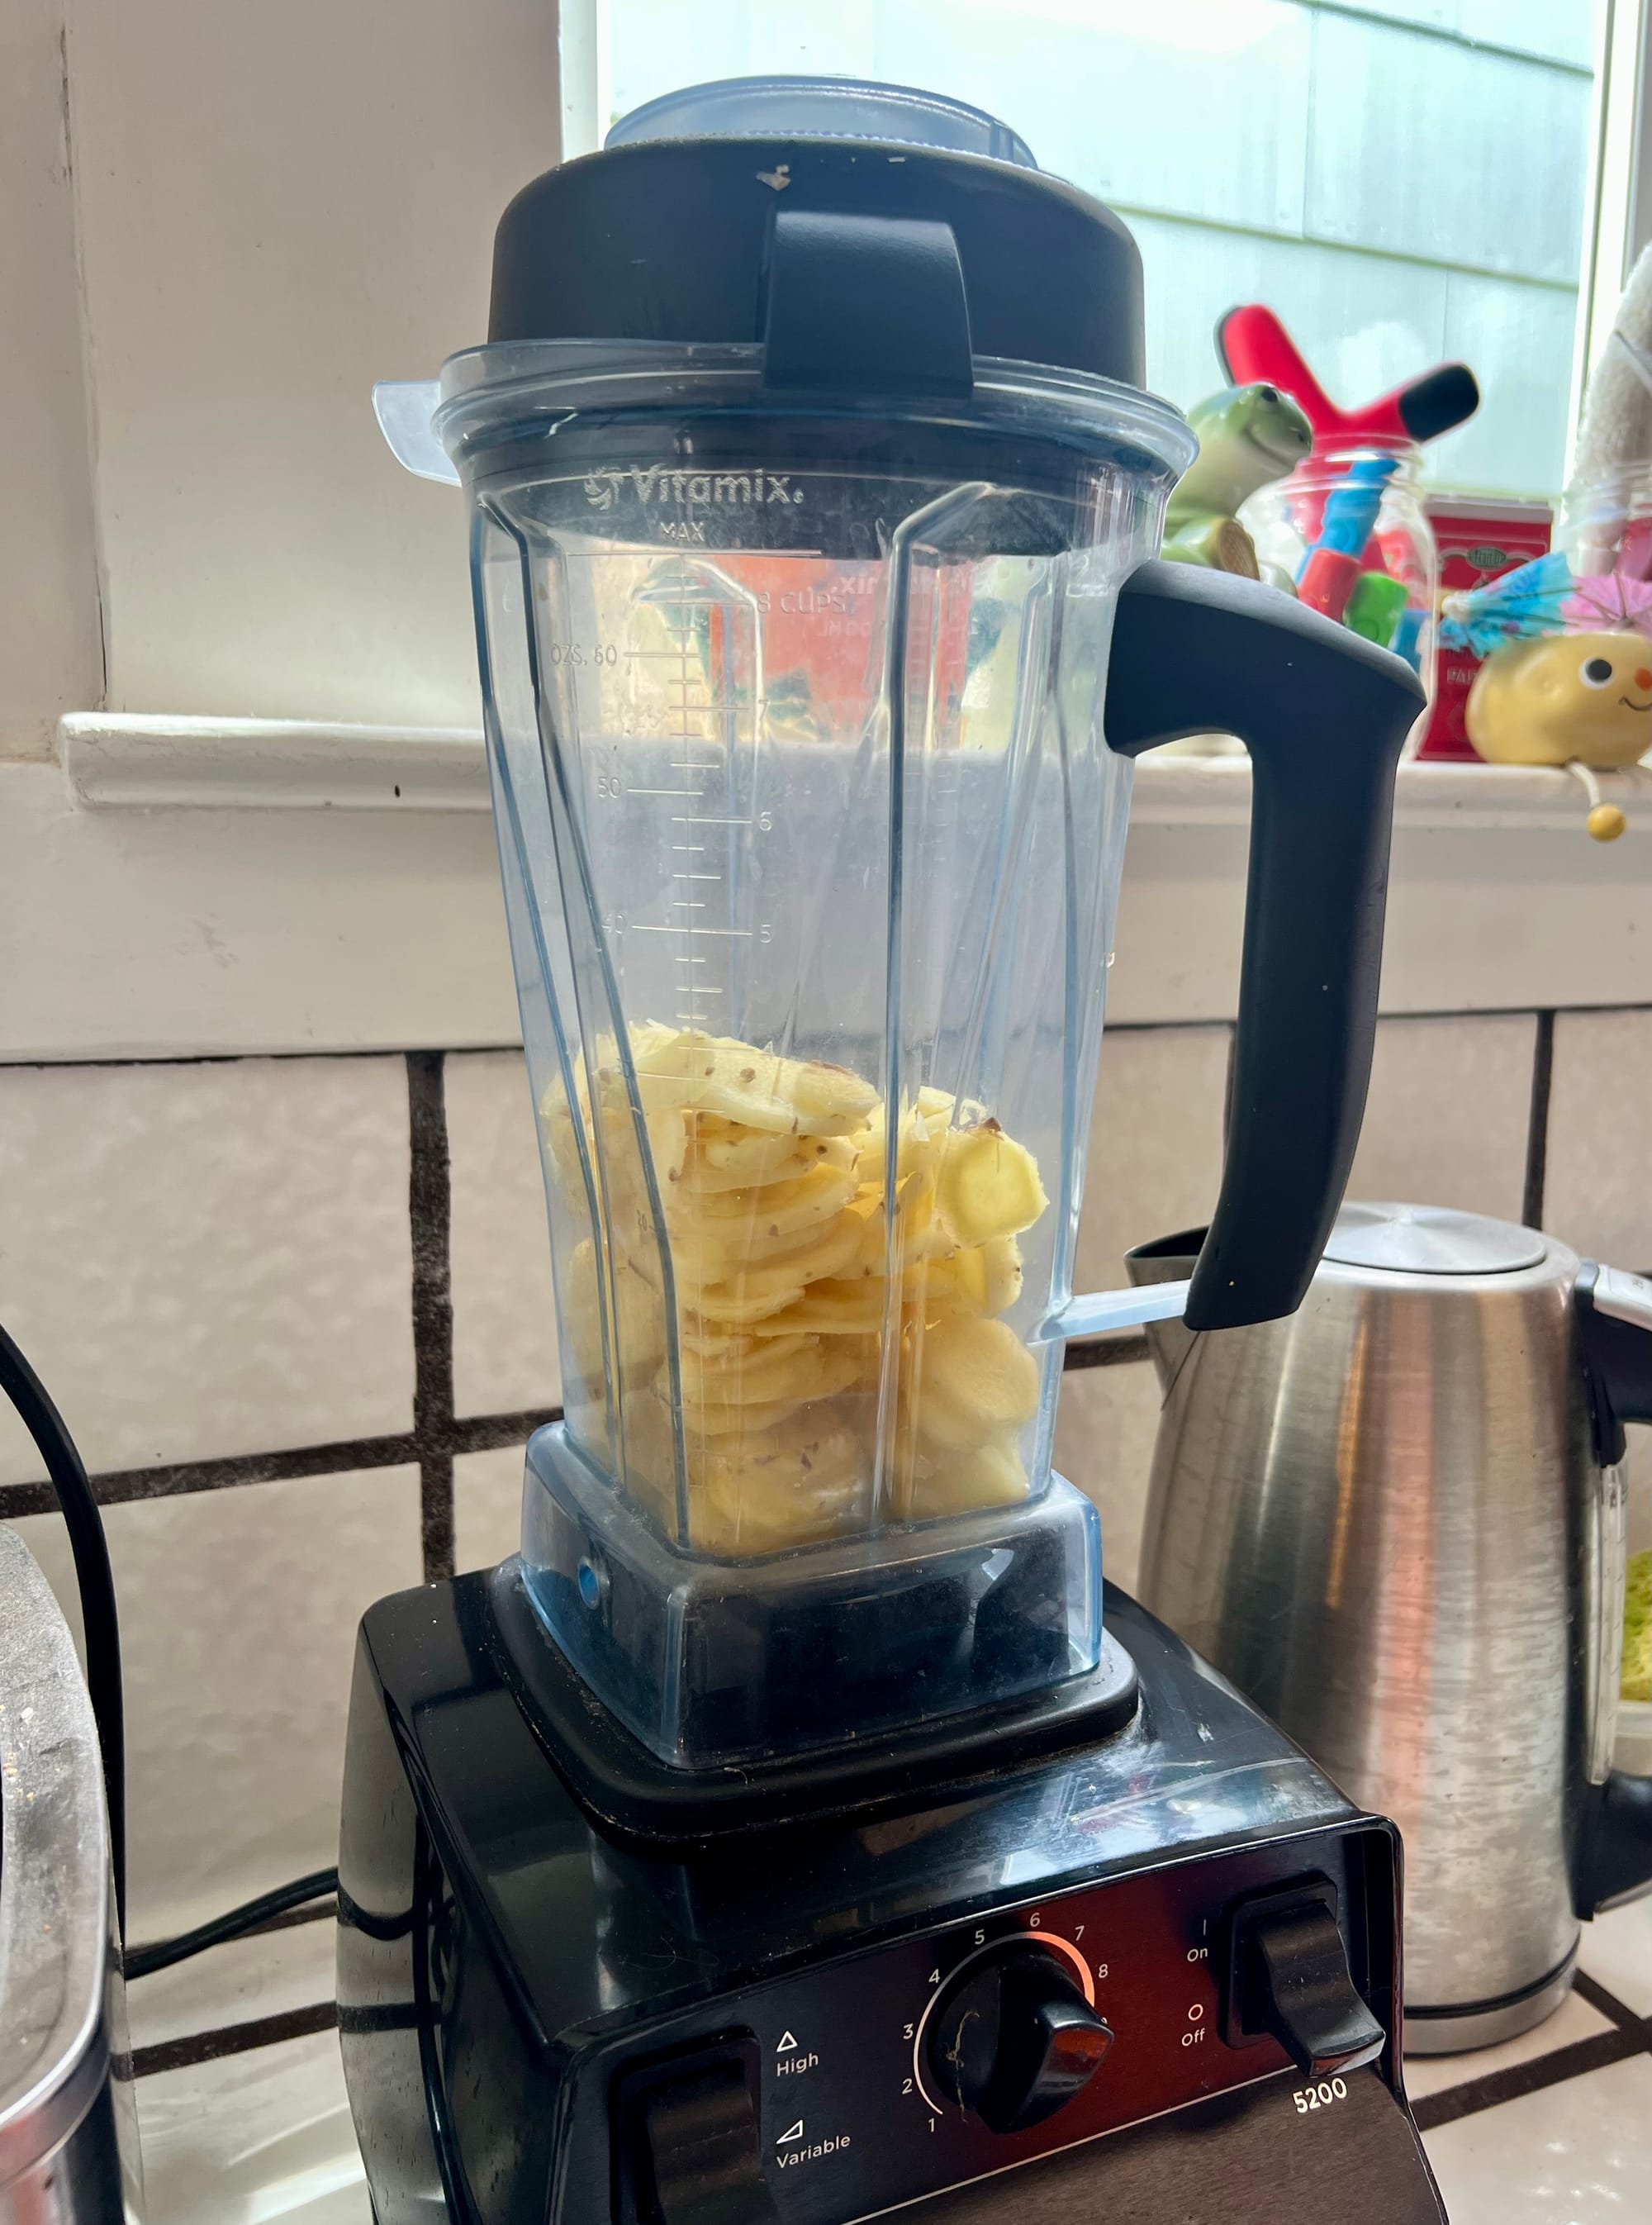
Throw the slices in the blender and blend the bajeezus out of 'em. You won't need to add any water, the natural juices in the ginger will get released and the whole thing will turn into more of a paste. You may need to stop the blender a few times to stir it up a bit. Make sure there aren't any hunks hiding under the blades or in the corners of the blender.
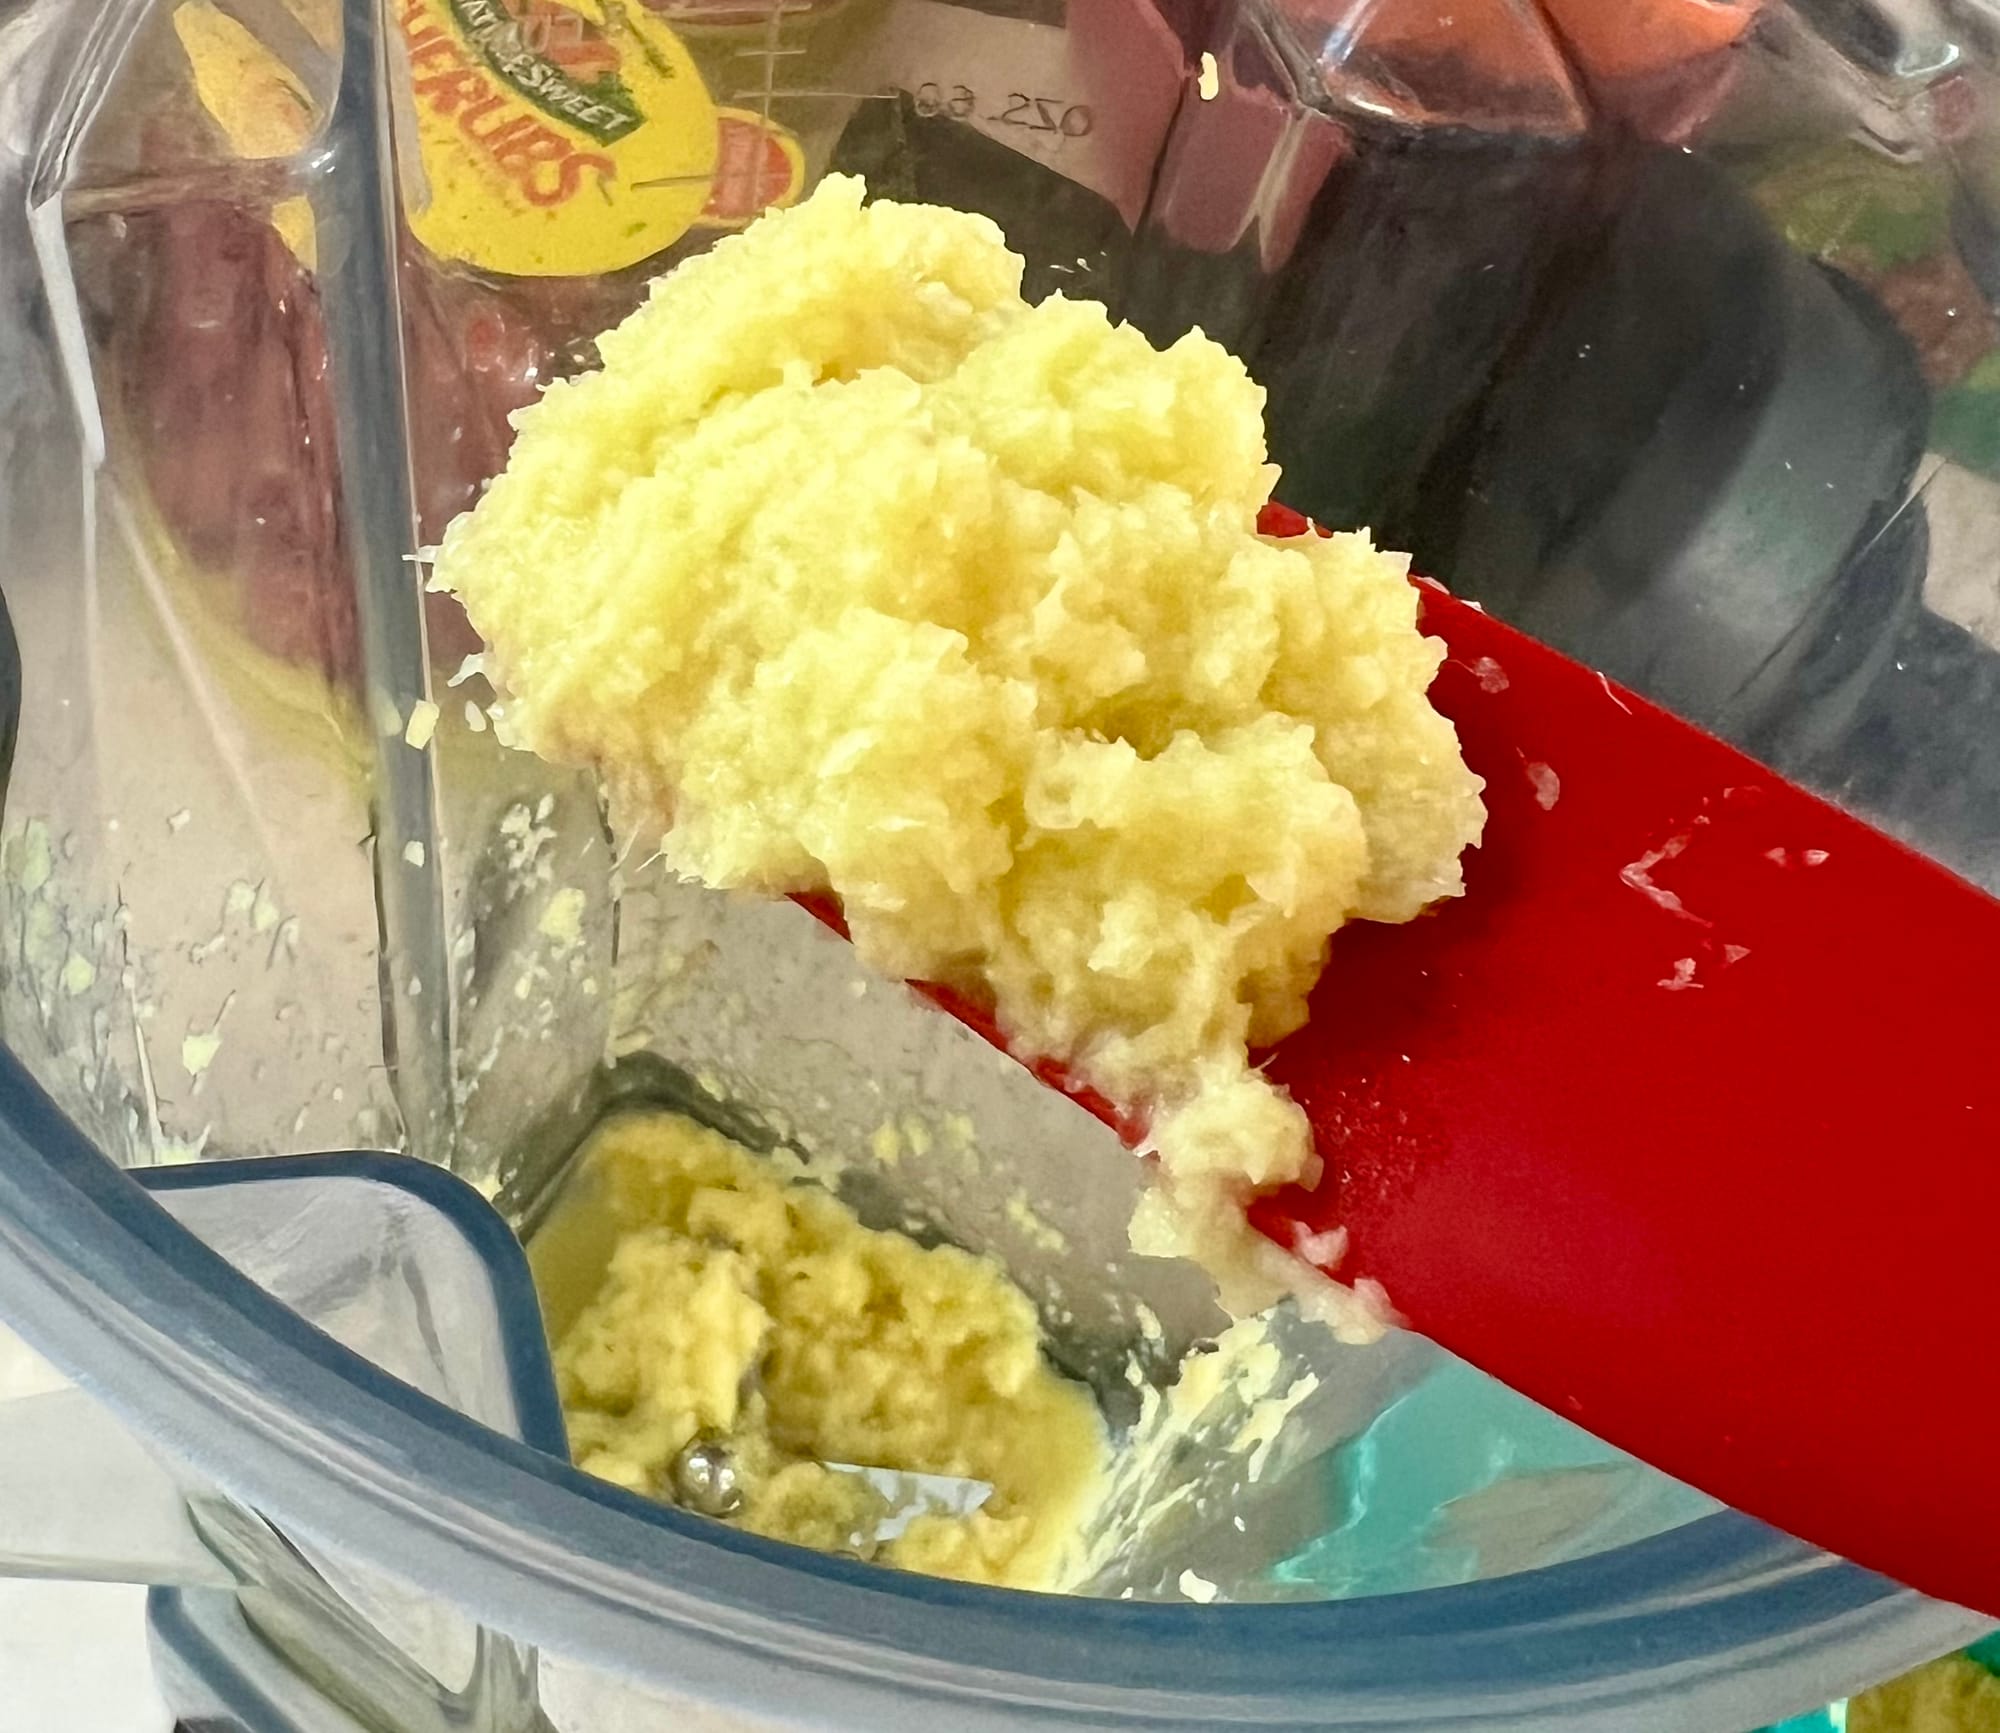
Now you have a lot of grated ginger! Okay, so you can't really call it grated ginger, because it didn't get grated. It got turned into a paste, really. But based on all the baking and cooking I've done with this new way of processing ginger, it looks, smells, tastes, and behaves just like grated ginger, even after freezing. I can't tell the difference.
It won't keep long in this state, though. You'll want to freeze any of it you won't be using right away.
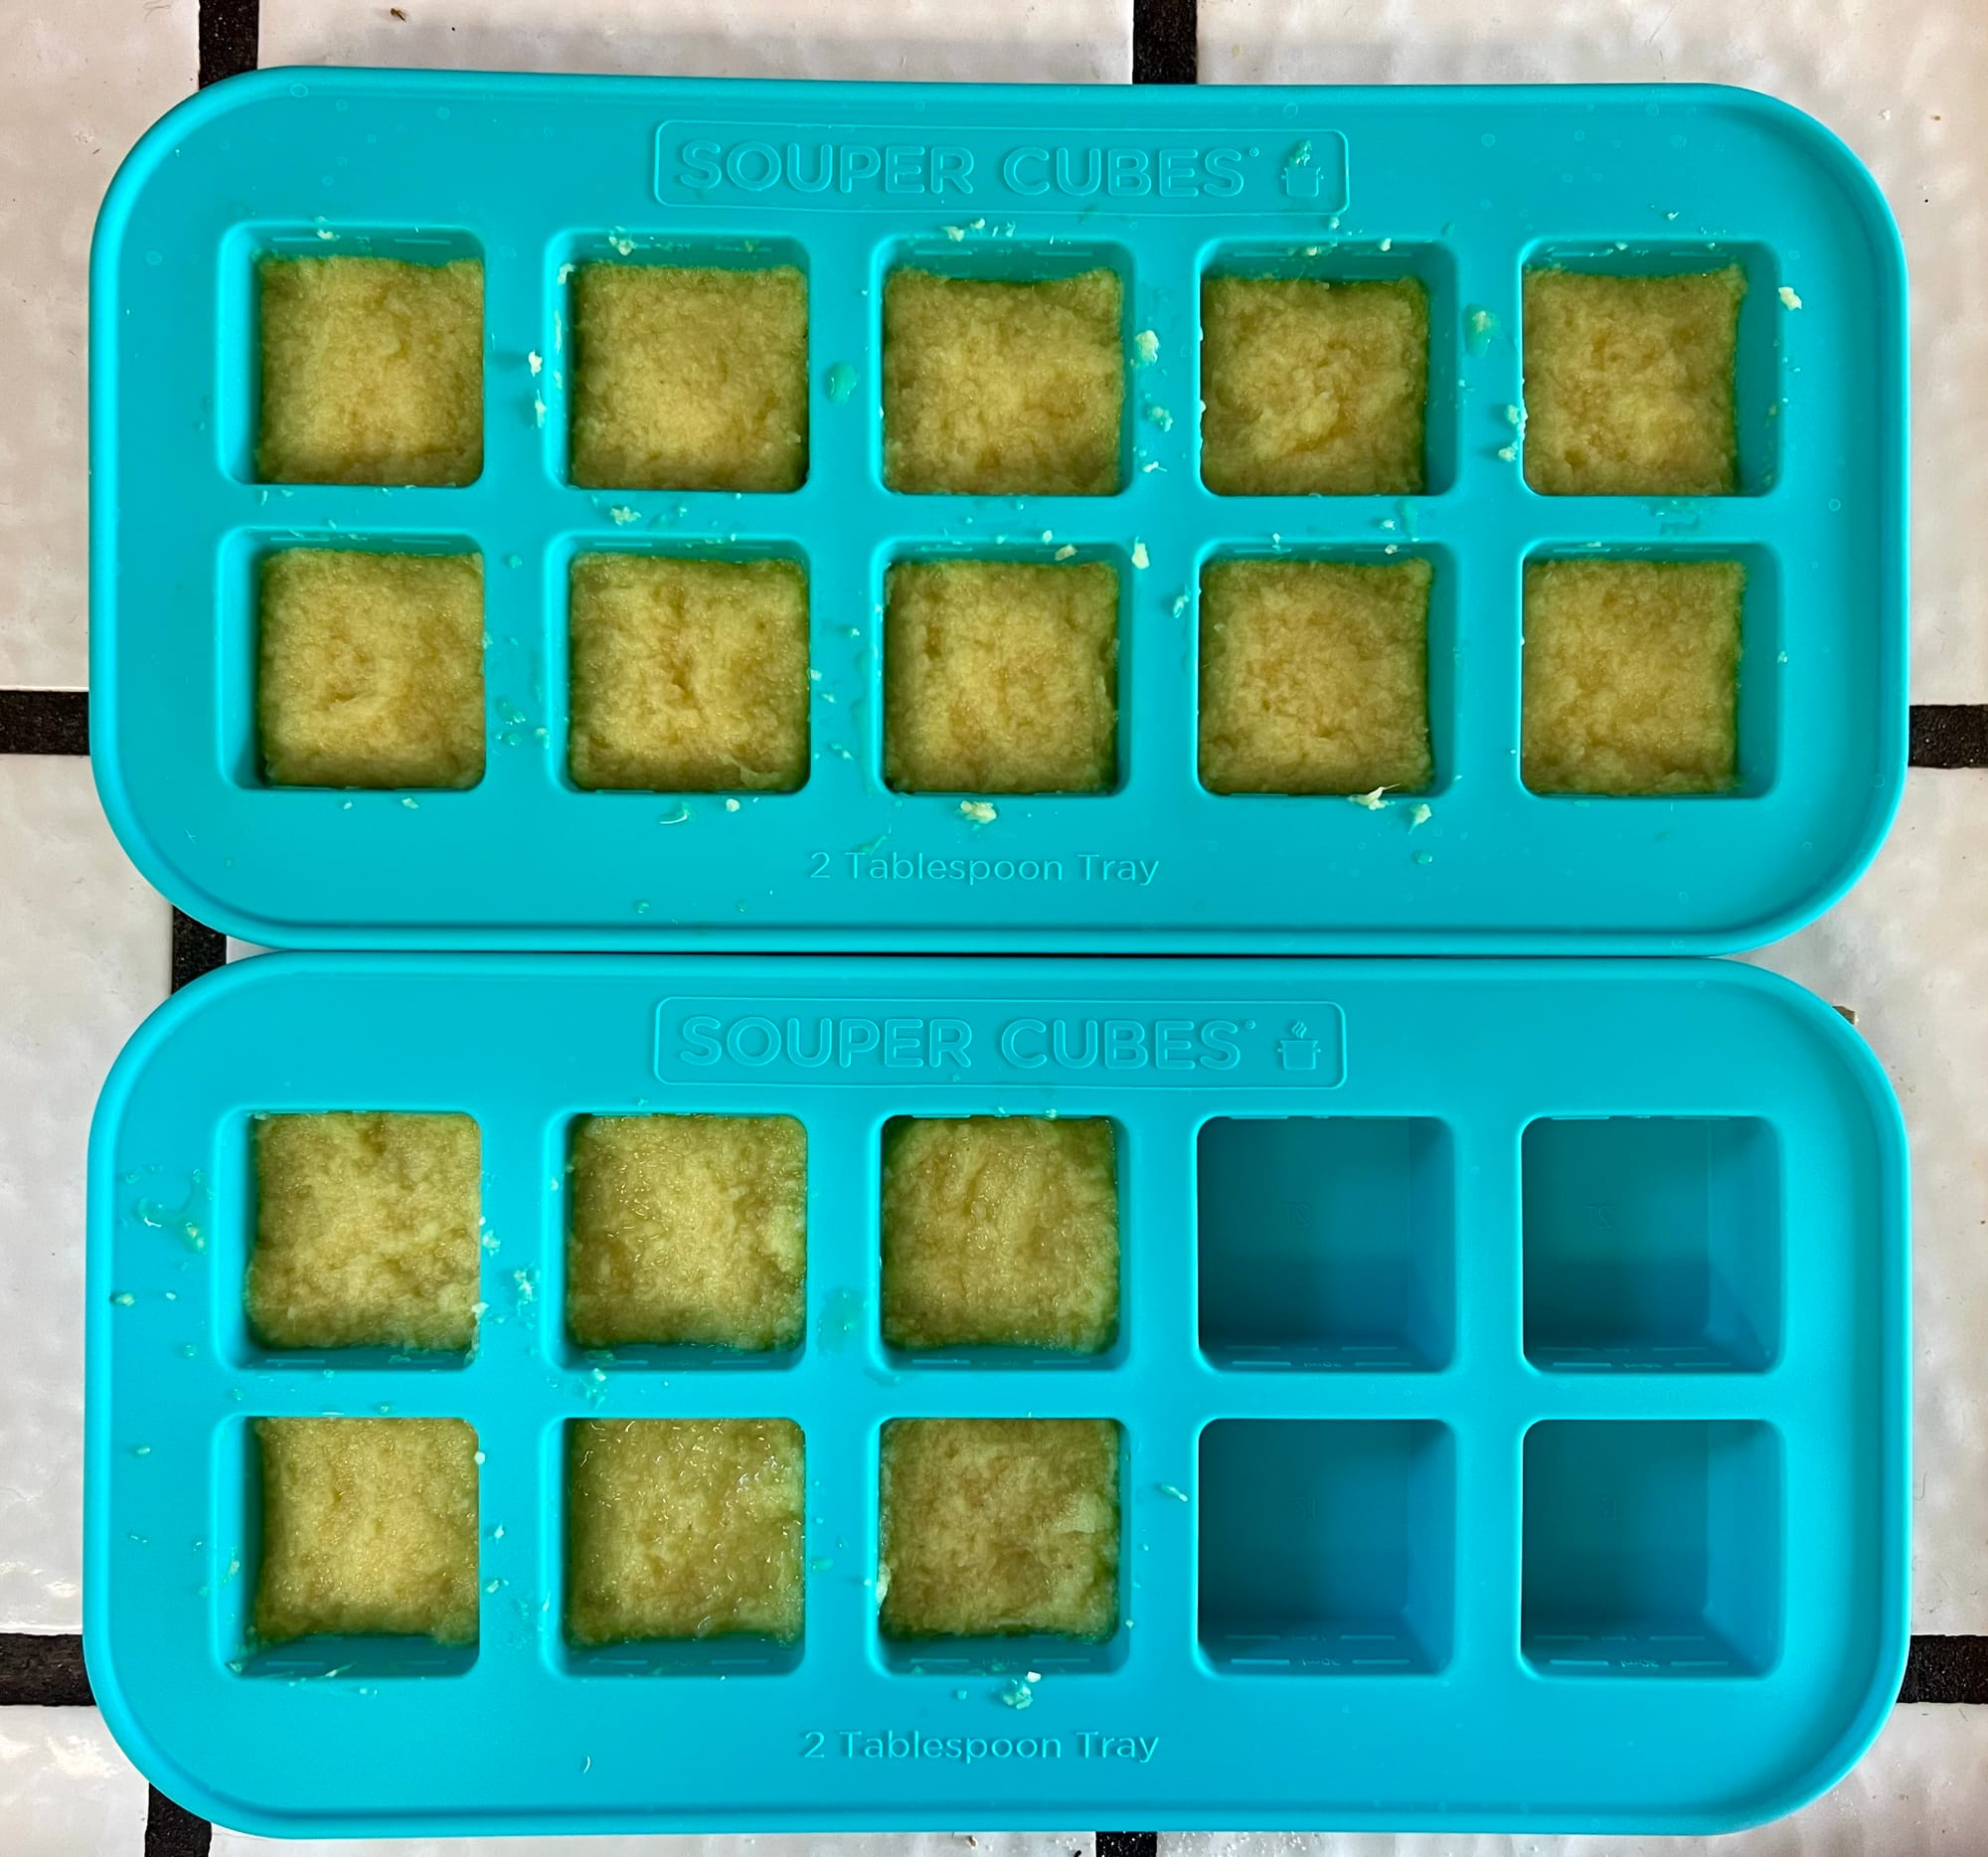
I use these nifty silicone cube trays from Souper Cubes. Each cube is measured to be two tablespoons, with a marking line for one tablespoon. I freeze the ginger into one-tablespoon pucks. You don't need this tray, though: you can use a measuring spoon and a standard ice cube tray. The batch in this set of photos gave me 16 tablespoons of grated ginger—one cup.
Or, you can go a different route entirely: put all of the paste into a quart-size freezer Ziploc bag, squeeze the air out as best you can, seal it, then lay it flat so the ginger is in a thin, even plane. Freeze it flat like that, and then break off a chunk when you want some. It won't be perfectly measured, but you probably weren't perfectly measuring when you were grating the root by hand, right?

However you freeze it, try to reduce the air in the bag as much as possible, and your ginger will last much longer, instead of succumbing to freezer burn. I use a vacuum sealer, but even just squeezing the air out helps a lot.
A note on amounts of ginger: recipes often call for ginger in kinda weird amounts, like "two inches of ginger," or "five coins of ginger." It's silly, because the diameter of ginger roots can vary wildly, but I use this rule of thumb:
1 inch ginger root = 1 tablespoon grated ginger
Enjoy your delicious ginger moments
I hope this new way of handling fresh ginger root is as revolutionary for you as it's been for me. I love ginger so much that the hassle of grating it didn't stop me, but it feels so great to no longer have that "ugh" feeling when I realize a recipe calls for ginger root. Now it's an "ooh!" as it should have been all along.
There are no ads or sponsorships on I Have Doubt!
This post has links to products. They are not affiliate links. I don't get anything from telling you about the products.
Learn more